KEVIN MONKS
RESTORATION
PAGE
2
Car
stripped down to bear bones!
PIC 1
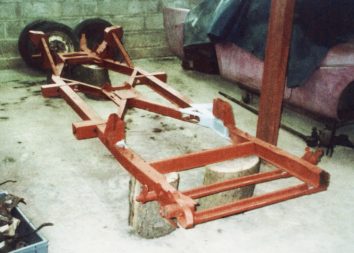
Chassis as returned from shotblasting, repairs already commenced to x bracing
(center bracing).
PIC 2
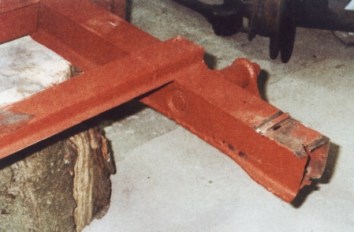
Rear cross braces of chassis shown
PIC 3
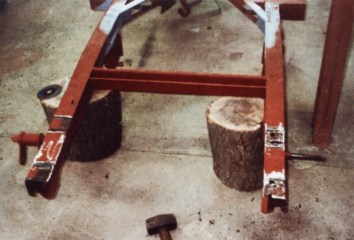
Corrosion presents after braces removed (holes clearly visible).
PIC 4
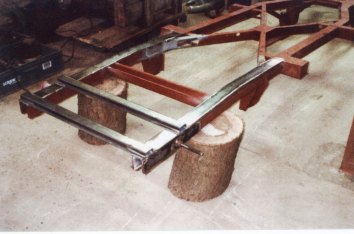
Picture showing new metal let in and replacement cross braces I had made up.
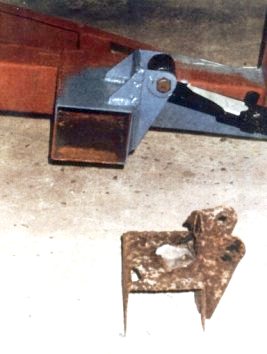
PIC 5
Replacement spring hangers I made compared to corroded originals (I made the
new ones 6mm wider then inserted 2x3mm washers) this was to allow adjustment of
the leaf springs from side to side by shimming should I have got the
measurements wrong. As it was I hadn't.
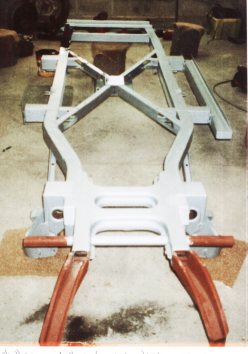
PIC 6
Photo of the repaired chassis (upside down) with primer applied.
I had the chassis shot blasted to basically give
me a clean base to work from and also identify any corrosion.
On it's return numerous areas of corrosion had
come to light. Now rightly or wrongly I decided to basically plate over the
affected areas with 3mm plate. Each surface was first treated to weld through
primer, I then seam welded in plate on both sides of the chassis so I
ended up with mirror image repairs.
I approached the repair in this manner for two
reasons;
1) By doing the repairs exactly the same to both
sides of the chassis means even weight distribution.
2) Due to the repairs being seam welded and
leaving the original metal in place the chassis should be more rigid, and
therefore be more taut on the road.
The downside is I've added additional weight to
the car and the possibility of corrosion occurring between the
metal let in, and the original chassis. With regards to the additional
weight I don't think this will affect the day to day driving of the car to
such an extent it will take away any pleasure. As to the corrosion the
weld through primer should eliminate any problems along with injecting the
chassis with waxoyl.
I made up new spring hangers and welded them into
place.
As the Daimler will be driven by both myself
and my wife, Anne, I decided to incorporate other modifications to the
chassis. These include conversion to rack and pinion steering and telescopic
rear dampers.
I purchased a damper kit which includes a
frame which is bolted down onto the chassis near the spring bump
stops. The instructions suggest drilling and tapping the chassis to mount the
frame, which in turn supports the top of the shock absorbers. As the chassis
is only about 2mm in thickness I thought it would be a bad idea to tap a
thread into such a small surface area. I decided on a belt and braces
approach by first drilling the chassis, then welding in nuts to accept
the frame securing bolts. I then plated over the captive nuts to prevent them
from being pulled through.
The next stage was to fit new chassis sills ( my car is a 'B' spec), these
were purchased from David Manners. As the sills were only constructed
from spot welds I again seam welded these items and capped of the front of
them. This is to prevent debris thrown up from the front wheels entering the
sill sections.
The chassis was then treated with paint obtained from a ship yard.
This consists of a primer (silver in colour), an undercoat (matt black) and a
top coat (gloss black). The first two were hand brushed on with the top coat
being sprayed. My logic for using this paint was that it is designed for use
in salt water, and so should be okay for road use. The finished chassis
will be eventually sprayed in a waxoyl type product which should take the
sting out of road chips.
I have since managed to trace a sizable amount of history relating to the
car. If anyone wants advice on how to do this I'll only be too happy to advise
them. I'd also appreciate any feedback on how you think I'm tackling the
restoration whether it be positive or negative.


